

5 Best Hidden Substack Tips You Should Not Miss
I think they are pretty useful for everyone


If you enjoy my content, I’ve got some extra special posts just for my paid subscribers:
Special Edition: How To Get Your First Paid Newsletter Subscribers In Just 3 Months ⚡️
The Secret to Great Headlines: What New Writers Need to Know ⚡️
3 Key Reasons Why Letting Go Of Niche Writing Was The Best Decision Ever ⚡️
For only $7/month you get instant access and a review of your newsletter.
5 Best Hidden Substack Tips You Wont Want To Miss
Lately, I’ve been lucky enough to get quite some new people on to my newsletter publication. Welcome to all of you 🧡.
And while there is a lot of content and posts around how to start on Substack and how to grow (I also offer a course on that), there are quite a few useful more hidden tricks that one can use, which are not that often covered.
Here are my current top 5 tips and tricks that I like to make use of daily.
SEO Options: For those who regularly read my newsletters, you might have seen this tip before. It's easy to miss, but Substack has built-in SEO tools for each post. When writing, click the settings button in the lower right corner, scroll down, and find the SEO option. Here, you can customize the SEO title and description, corresponding to the meta description. Substack usually pulls the first sentence of your post for SEO, but that’s not ideal. Instead, write a short summary to help your article get found in search engines like Google. I always do this before publishing, believing it can make a big difference in the long run.
See who likes a note/post. For every post or article, you'll see a section where people can like it, right before the comment section. I love this feature because it helps you discover others who enjoy similar content. Chances are, they might be interested in what you write too. Give them a follow and make yourself known.

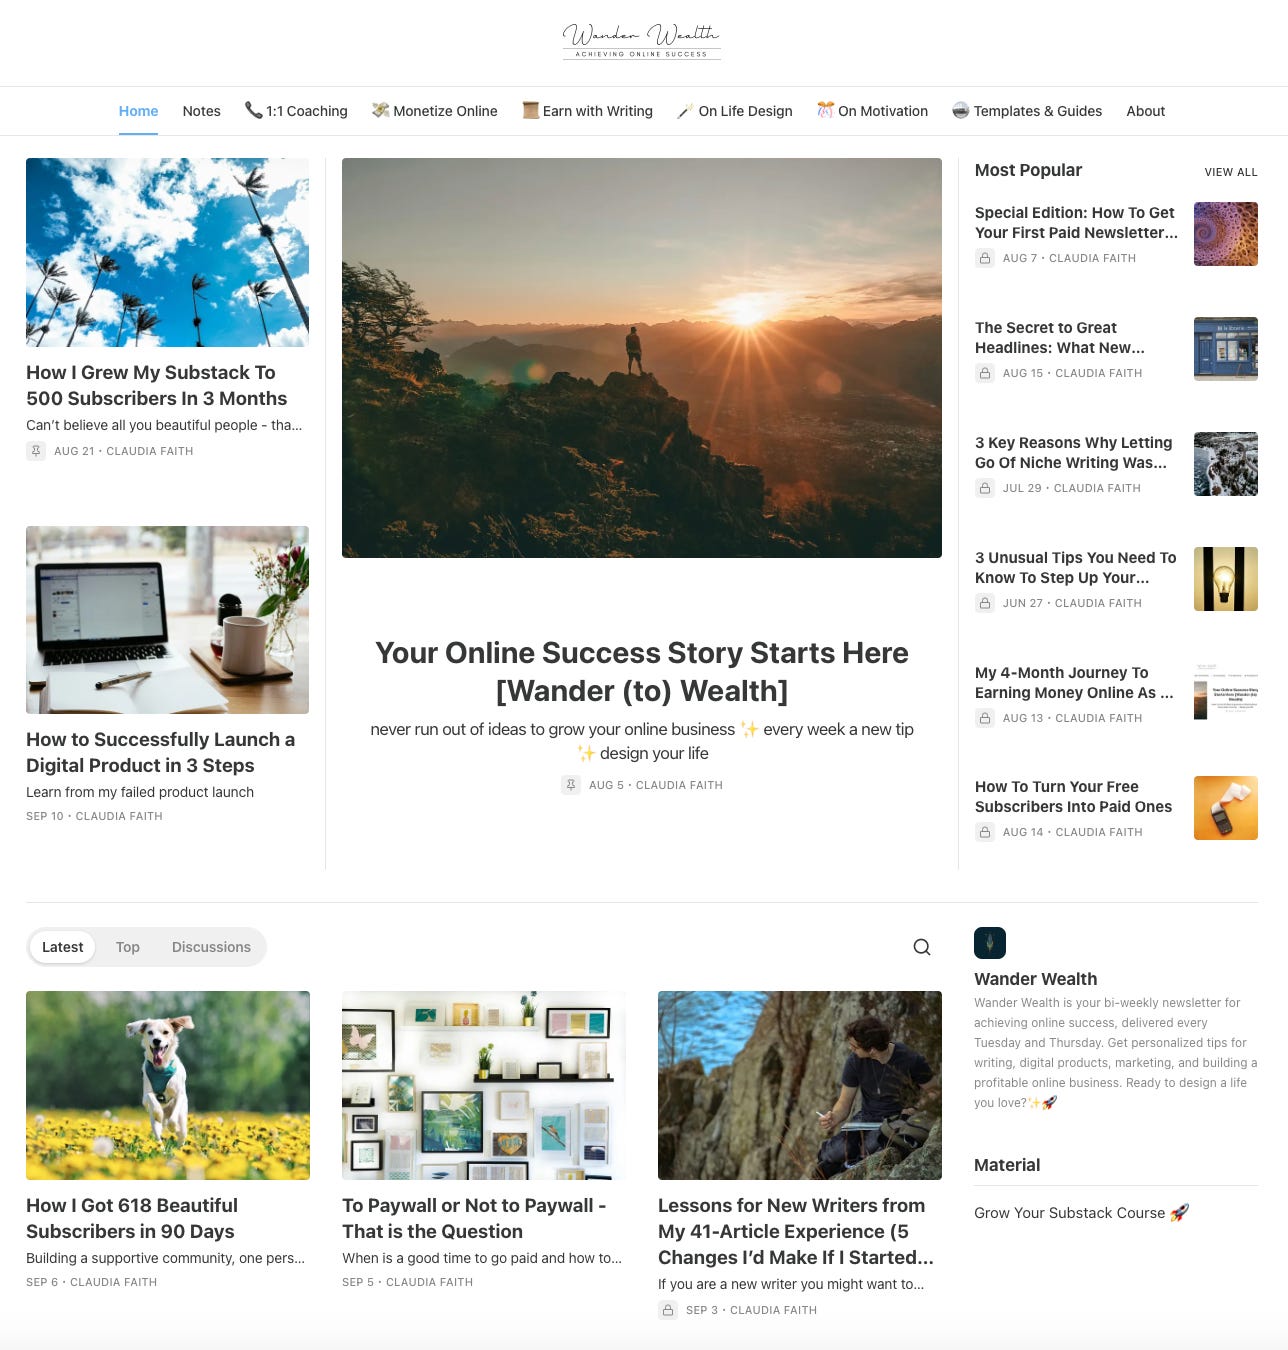
Find like-minded people who like posts or notes Homepage links. This one I also just recently discovered. I’m not talking about the links in the menu tabs. Here, you can actually create categories of resources to display on your publication’s homepage. People often use this space to showcase free or paid products, social media links, or anything else they want to highlight. To set it up, go to your dashboard, click on settings, then website, and you’ll find the option for homepage links there. For example, I added a Material category, where people can find my Substack course.
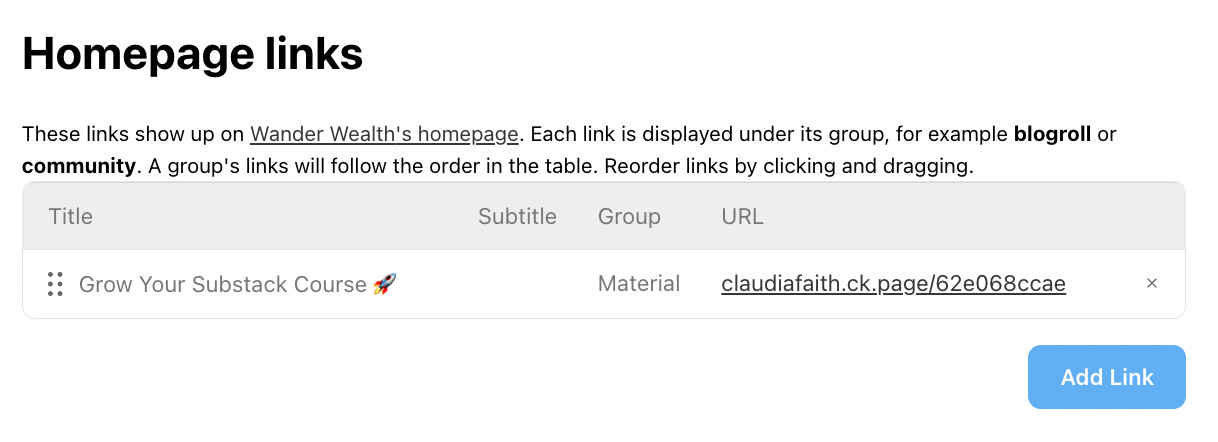
Homepage links in Your Settings You’ll find it on the right-hand side, just below your newsletter description on your homepage.


Work with Sections & Tags. Sections and Tags help you to organize your posts in categories, which can be used as tabs on your homepage. But there is a difference between those two. Subscribers can choose to subscribe only to specific sections by adjusting their preferences on their own Substack account page. Sections give your subscribers more control over the content they receive, and they're useful if your publication covers different topics. You can set it up in a way that your subscribers are initially subscribed to all sections.
Tags can also be used to organize articles, but sections offer more flexibility, like adding descriptions, managing subscriptions, and customizing the layout.Sections: Sections are more structured. They allow you to create distinct mailing lists for different topics, add descriptions, and customize each section with unique logos or features (like dedicated podcasts). Subscribers can manage which sections they get emails from. Sections can also appear as tabs on your homepage and are visible in your website’s navigation.
Tags: Tags are simpler and used to categorize content. You can group articles under the same tag, which helps organize posts. However, tags don’t allow you to manage email subscriptions or add descriptions. They simply help users find related content, but they don’t offer the deeper customization options that sections provide.
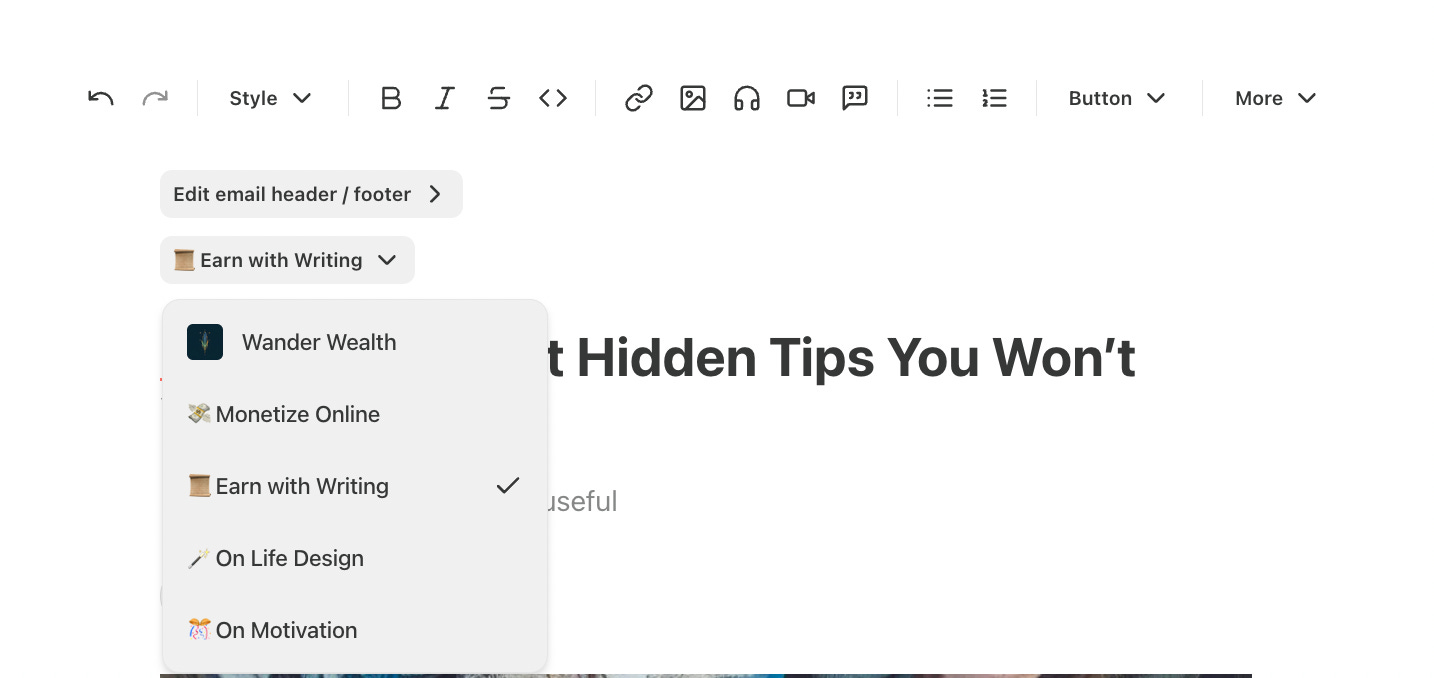
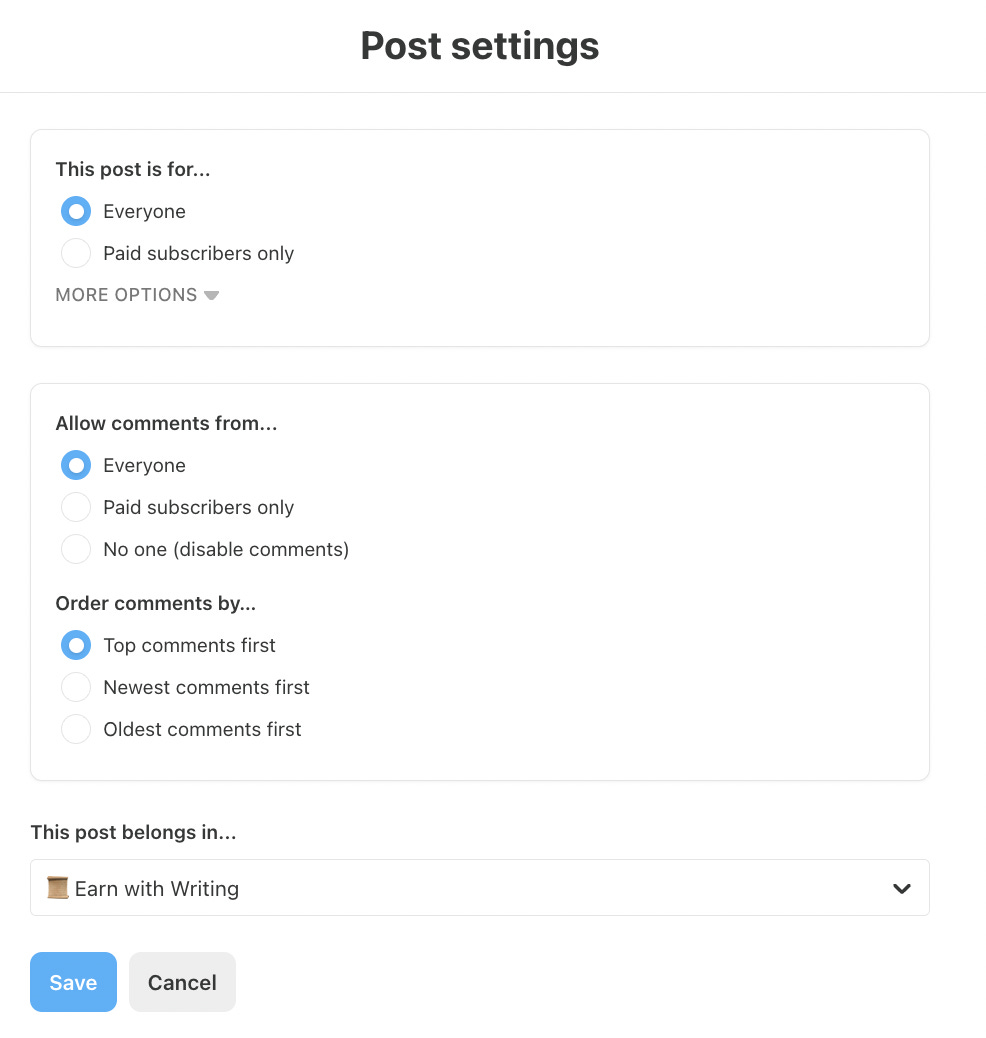
Tags can be found by going to your dashboard, then settings > website > tags. For sections, scroll down in the left menu, as they have their own category. When creating a section, you’ll have the option to assign posts to it while writing, under the edit email header/footer button. Tags, on the other hand, can be added in the post settings, just below where you specify whether the post is for free or paid subscribers and set comment permissions.
Honestly, right now I add each post to both sections and tags to keep my options open for expanding sections later. For my homepage menu, I’ve organized everything into sections since it gives you a bit more flexibility, like adding a description at the top of each section page.
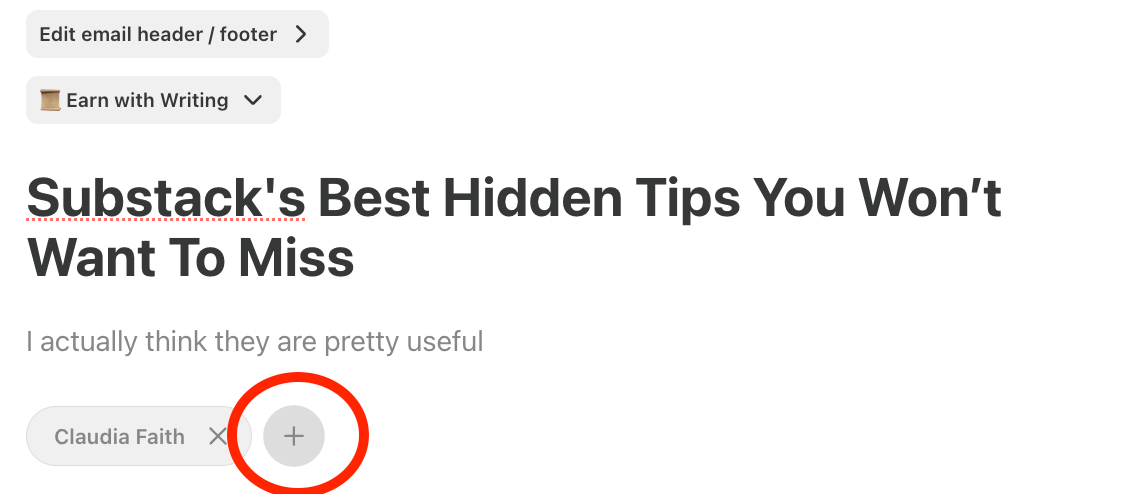
Add co-authors to your post. As your platform grows, you might want to collaborate with other authors, like for interviews or joint podcasts. Adding a co-author is easy. Just go to the top of your post and click the plus button next to your name, and they'll be added as a byline. Keep in mind, they won’t have access to the post or be able to edit it. You can also go to settings > team, to add people with different roles, but for a simple co-author, adding them directly to the post is the quickest way.
Whoever needs this today:
✨✨✨
Can you believe there are 713 of us here now? 🤯
If you are thinking about monetizing your efforts like the other 713 achievers, then join our Wander Wealth Community
If a subscription is not possible, please comment, like, share. It really helps.
Thanks for the tips! I'm still discovering all the bells and whistles here. It really helps to have some guidance.
Super helpful, thank you! We are new to Substack and these are some valuable tips.